Magic Cam: Installation Guide & App Configuration
Installation guide
2. Click “Next” to go through the whole installation process, select the folder where you want to install the application and select “Install”.

*Please, be sure that applications that use the webcam or the microphone as Microsoft Teams or Zoom are not running.

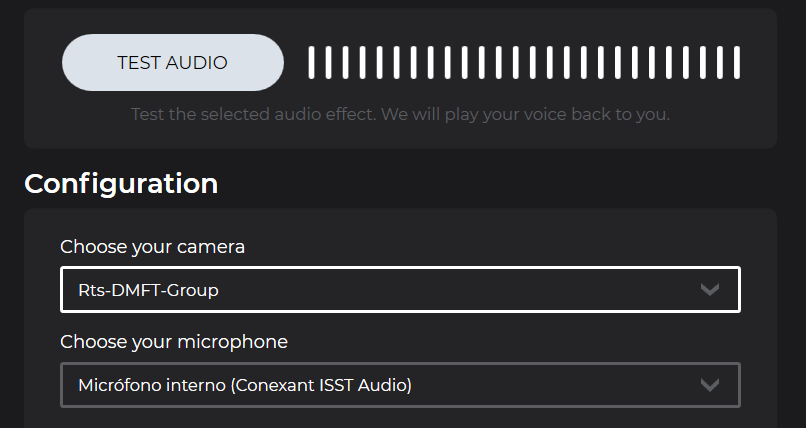
3. Open the application. On the bottom right corner, you will see a configuration panel where you have to select your camera and your microphone.

*Make sure you select the same camera and microphone that you use during your calls!
4. You can test the effects on the application before using them during a call. Simply select the desired effect and you will see it change on the application. To test the audio effects, simply select it and click on “Test audio”.
5. After installation, remember to set the windows default audio devices, because sometimes Windows selects new devices, and the MagicCam speaker may remain selected.

App Configuration
1. Click on your account’s icon on the top right, then select Settings.

2. Go to Devices, under Audio devices select Custom Setup
3. Configure Plain Concepts MagicCam as your devices: Microphone and Camera

1. Go to Settings > Audio Settings.

2. Select Plain Concepts MagicCam as your Microphone device.

3. Select Plain Concepts MagicCam as your Video device.

1. Go to Settings

2. Click on Settings and go to Audio & Video.

3. Scroll down and change your Camera and Microphone to Plain Concepts MagicCam.


1. Go to Settings.

2. Select Voice and Video.

3. Select Voice Settings >Input Device > Microphone Plain Concepts MagicCam.

4. Select Video Settings >Camera > Plain Concepts MagicCam as your devices.

1. Go to Settings.

2. Select Vídeo & Microphone (Plain Concepts MagicCam).


